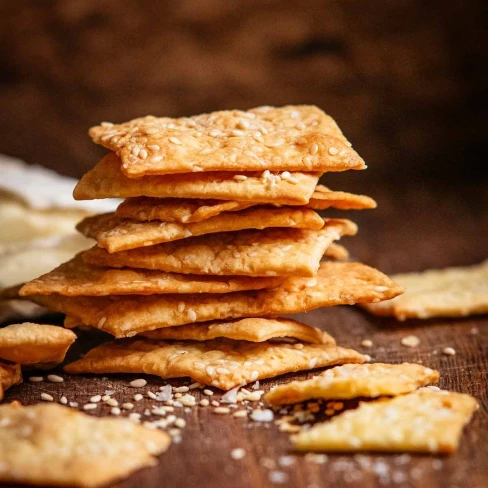
Homemade artisan crackers - sesame sea salt flavour
Prep
15m
·
Cook
22m
·
Total
37m
About This Recipe
This homemade artisan cracker recipe combines the nutty flavor of sesame seeds with the perfect amount of sea salt for a uniquely delicious snack. With just a handful of ingredients, you can create a crunchy, savory cracker that pairs perfectly with cheese and dips. A must-try for any cracker lover.
Ingredients
(Servings:
5)
Scale
Convert
Cracker Dough
Sprinkling / Spraying
Steps
View steps on recipetineats.com or by saving the recipe to your
personal library.
Register for free to start saving recipes.
Nutrition Facts
Nutrition facts are based on 1 serving. If servings is not specified, 6 is assumed for the total recipe.
Nutrition facts are based on 1 serving. If servings is not specified, 6 is assumed for the total recipe.
-
Calories236kcal11%
-
Fat11g0%
-
Saturated Fat1g0%
-
Carbohydrates28g1%
-
Fiber1g0%
-
Sugar0g0%
-
Protein4g0%
-
Cholesterol0mg0%
-
Sodium233mg11%
Percent Daily Values are based on a 2,000 calorie diet.
Notes
See FAQ above for more information about substitutions and options.
1. No salt flakes for sprinkling? Use a slightly heaped 1/4 tsp cooking/kosher salt or 1/8 tsp (levelled) table salt (for the whole recipe). Only got table salt? Use half the quantity of cooking salt listed in the ingredients.
2. No olive oil spray?Lightly brush the surface of the dough with extra virgin olive oilbefore cutting (faster than doing individual pieces).
3. Rolling out – The dough is friendly and easy to roll thinly. It doesn’t matter what shape you end up with, the thinness is what’s important as this affects crispiness. I aim for oval shape but rarely succeed! Use extra flour for sprinkling as needed to prevent from sticking to the counter or rolling pin.
4. Cutting – If using a knife, cut up and down, don’t drag the knife through the dough.
5. Baking tips – Smaller and thinner pieces will colour faster, remove earlier if needed. Pieces on outer rim will colour first so move them into the middle. Keep an eye on them for the last few minutes as they go from pale to golden quickly!
6. Storage – Best on day made for maximum flavour but stays crispy for 3 to 4 days in an airtight container (and always still tastier than store bought!). If they soften a bit or are a bit stale, pop the back in the oven to crisp up again.
Nutrition per serving.
Comments
Sign in to leave a comment.