Basic Gluten Free Pizza Dough
Prep
10m
·
Cook
30m
·
Total
40m
About This Recipe
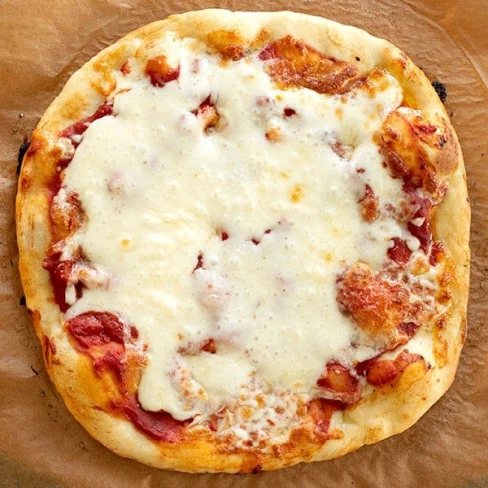
The best simple recipe for gluten free pizza dough that anyone can, and should, make is here. Even if you've never made homemade pizza before, we're bringing back the chewy, crisp-edged pizza you remember!
Ingredients
(Servings:
2)
Scale
Convert
Steps
View steps on glutenfreeonashoestring.com or by saving the recipe to your
personal library.
Register for free to start saving recipes.
Nutrition Facts
Nutrition facts are based on 1 serving. If servings is not specified, 6 is assumed for the total recipe.
Nutrition facts are based on 1 serving. If servings is not specified, 6 is assumed for the total recipe.
-
Calories3,312kcal165%
-
Fat138g6%
-
Saturated Fat19g0%
-
Carbohydrates459g22%
-
Fiber16g0%
-
Sugar9g0%
-
Protein49g2%
-
Cholesterol0mg0%
-
Sodium1,707mg85%
Percent Daily Values are based on a 2,000 calorie diet.
Notes
Beat the dough well
The instructions in the recipe card refer to beating the dough in your mixer until it begins to look “whipped” in appearance. The dough will at first come together around the paddle attachment. Keep mixing on a high enough speed, and it will begin to stick to the sides of the bowl and look more aerated. Here's a short video to show you exactly what it looks like:
Whipped appearance of gluten free pizza dough.
Rest the dough in the refrigerator
After you've made your raw pizza dough, let it rest in the refrigerator. That allows the flours to absorb the moisture of the water, leaving the dough still hydrated, but making it much less sticky. Cold dough is a lot easier to work with than warm dough, so it's best to work with it right out of the refrigerator.
Working with sticky dough
If your dough is still a bit sticky because you can't afford the time to let it rest more, or it's not cold enough, sprinkle it with more gluten free flour, and handle it with a light touch. You can also oil your hands.
For chewier dough
Try replacing 1/4 cup (36 grams) of the all purpose gluten free flour blend with Expandex modified tapioca starch or regular tapioca starch/flour. Add 1 1/2 fluid ounces more water if you use Expandex (but not if you use regular tapioca starch).
Parbake the crust
Try partially baking (“parbaking”) the risen, chilled and shaped crust at 400°F for 7 minutes. Let it cool, wrap tightly, and use it later in the day or even the next day.
Imported & edited by @johnnydallas24
Comments
Sign in to leave a comment.