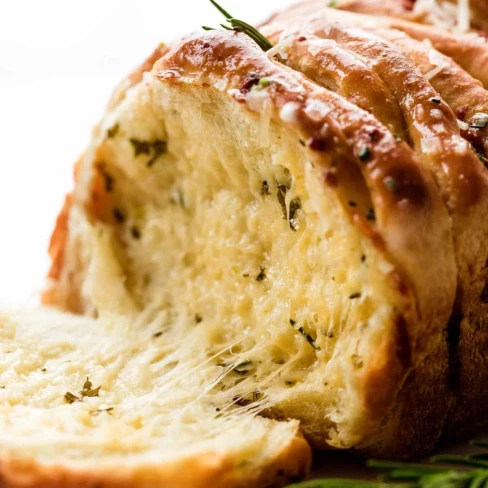
Rosemary Garlic Pull Apart Bread
Prep
3h
·
Cook
50m
·
Total
3h 50m
About This Recipe
This Rosemary Garlic Pull Apart Bread recipe creates a soft and savory bread filled with the flavors of fresh rosemary and garlic. With a hint of cheese and a sprinkle of sea salt, this delicious pull-apart bread is perfect as an appetizer, side dish, or snack.
Ingredients
(Servings:
1)
Scale
Convert
Dough
Filling
Optional Topping
Steps
View steps on sallysbakingaddiction.com or by saving the recipe to your
personal library.
Register for free to start saving recipes.
Nutrition Facts
Nutrition facts are based on 1 serving. If servings is not specified, 6 is assumed for the total recipe.
Nutrition facts are based on 1 serving. If servings is not specified, 6 is assumed for the total recipe.
-
Calories3,884kcal194%
-
Fat188g9%
-
Saturated Fat112g5%
-
Carbohydrates421g21%
-
Fiber16g0%
-
Sugar45g2%
-
Protein110g5%
-
Cholesterol674mg33%
-
Sodium3,320mg166%
Percent Daily Values are based on a 2,000 calorie diet.
Comments
Sign in to leave a comment.